Feeling a little cooped up late? Here is are some step-by-step instructions for creating your own Plastic Bottle Garden while recycling plastic bottles. To make your own self-watering or hydroponic plastic bottle garden is can be done simply and quickly. It is an ideal project for non-flowering plants, such as lettuce and herbs.
WHAT YOU WILL NEED
This is a fun way to introduce kids and those young at heart to growing their own indoor garden. you will need:
- 1 Liter Plastic Soda Bottle
- Planting Media
- Cotton cord or old cotton towel
- Plant Food/Nutrient
- Scissors
- Tape
- Aluminum Foil or Newspaper

Let’s GET GOING
First, take an empty, rinsed out soda bottle. About 1/2 inch below where the bottle curves into the bottle mark a line. Please make sure that you do not cut above the curve on the bottleneck side. If you do, then you will have a nice funnel that drops into the bottle and not a planter. This is especially dangerous if you are trying to work with kids who have been stuck in the house for weeks that keeping asking and asking are we done yet? Or if by yourself, you realize that you need to down another liter of whatever. I used tape to mark where I was going to cut which adds a little reinforced to the rim. You don’t have to do this, but it those make it a little sturdier.
A little trick is to start the cut with a blade then finish the cutting with a pair of scissors. I like my fingers so I like to use scissors whenever I can. Oh by the way, you may be wondering, “why I left the bottle label on?” Two reasons: one it adds to the bottle’s sturdiness, even if it is a little and two, sunlight to the bottom portion of the bottle is not going to be our friend in the long run. Well explain a little further into the post.

WICKING
Plants will need to draw water – to accomplish that we will need a wick, which can be made from a cotton rope or an old dishtowel. The wick will hang down into the water reservoir and draw water up to the plant. Eventually, the plant will grow roots that extend down into the reservoir. I used an old dish towel and ran toothpicks through the end of the towel to form an X pattern. This prevents the dish towel from falling into the bottle reservoir.


PLANT NUTRIENT
Now you are going to add water to the bottom portion of the bottle along with plant nutrients. I recommend that you use distilled water, it removes a good deal of the chemicals and minerals that you might have in your drinking water. Tap water kind can be definitely used if you are trying to keep the costs down and want to get the project finished. As for nutrients, you have choices here. Miracle-Gro will work, their Tomato Plant Food has a little more stuff in it. Please remember that a little bit goes a long way. I use Dyna-Gro GROW 7-9-5 a liquid plant food which is good for both planted and hydroponic – you only need 2 -3 tsp per gallon of water.

PLANT MEDIA
You have some choices here, you want something that is coarse enough that it doesn’t fall through the original bottle cap opening. If you are building a shelf watering plant container, then the actual transplanted with roots and soil will do. If you want to be hydroponic and grow without soil you can use hydroponic Clay Pebbles, Coconut Coir Fibers or as I did, a porous hydroponic perlite mix from Sunshine. The mix I used was a left over partial bag the mix is really good, but really expensive. Suggest you go with the Clay or Coconut if you want to keep tabs on the budget.

PLANTING/CHOOSE OF PLANTS
Now to add your plant – this is an ideal project for non-flowering vegetables. Herbs and lettuce do exceptionally well. If the planter is being used for flowering plants such as violets. I am transplanting a garden cabbage that is not doing so well in the cooler weather we are experiencing.

WRAPPING IT UP AND WE MEAN IT
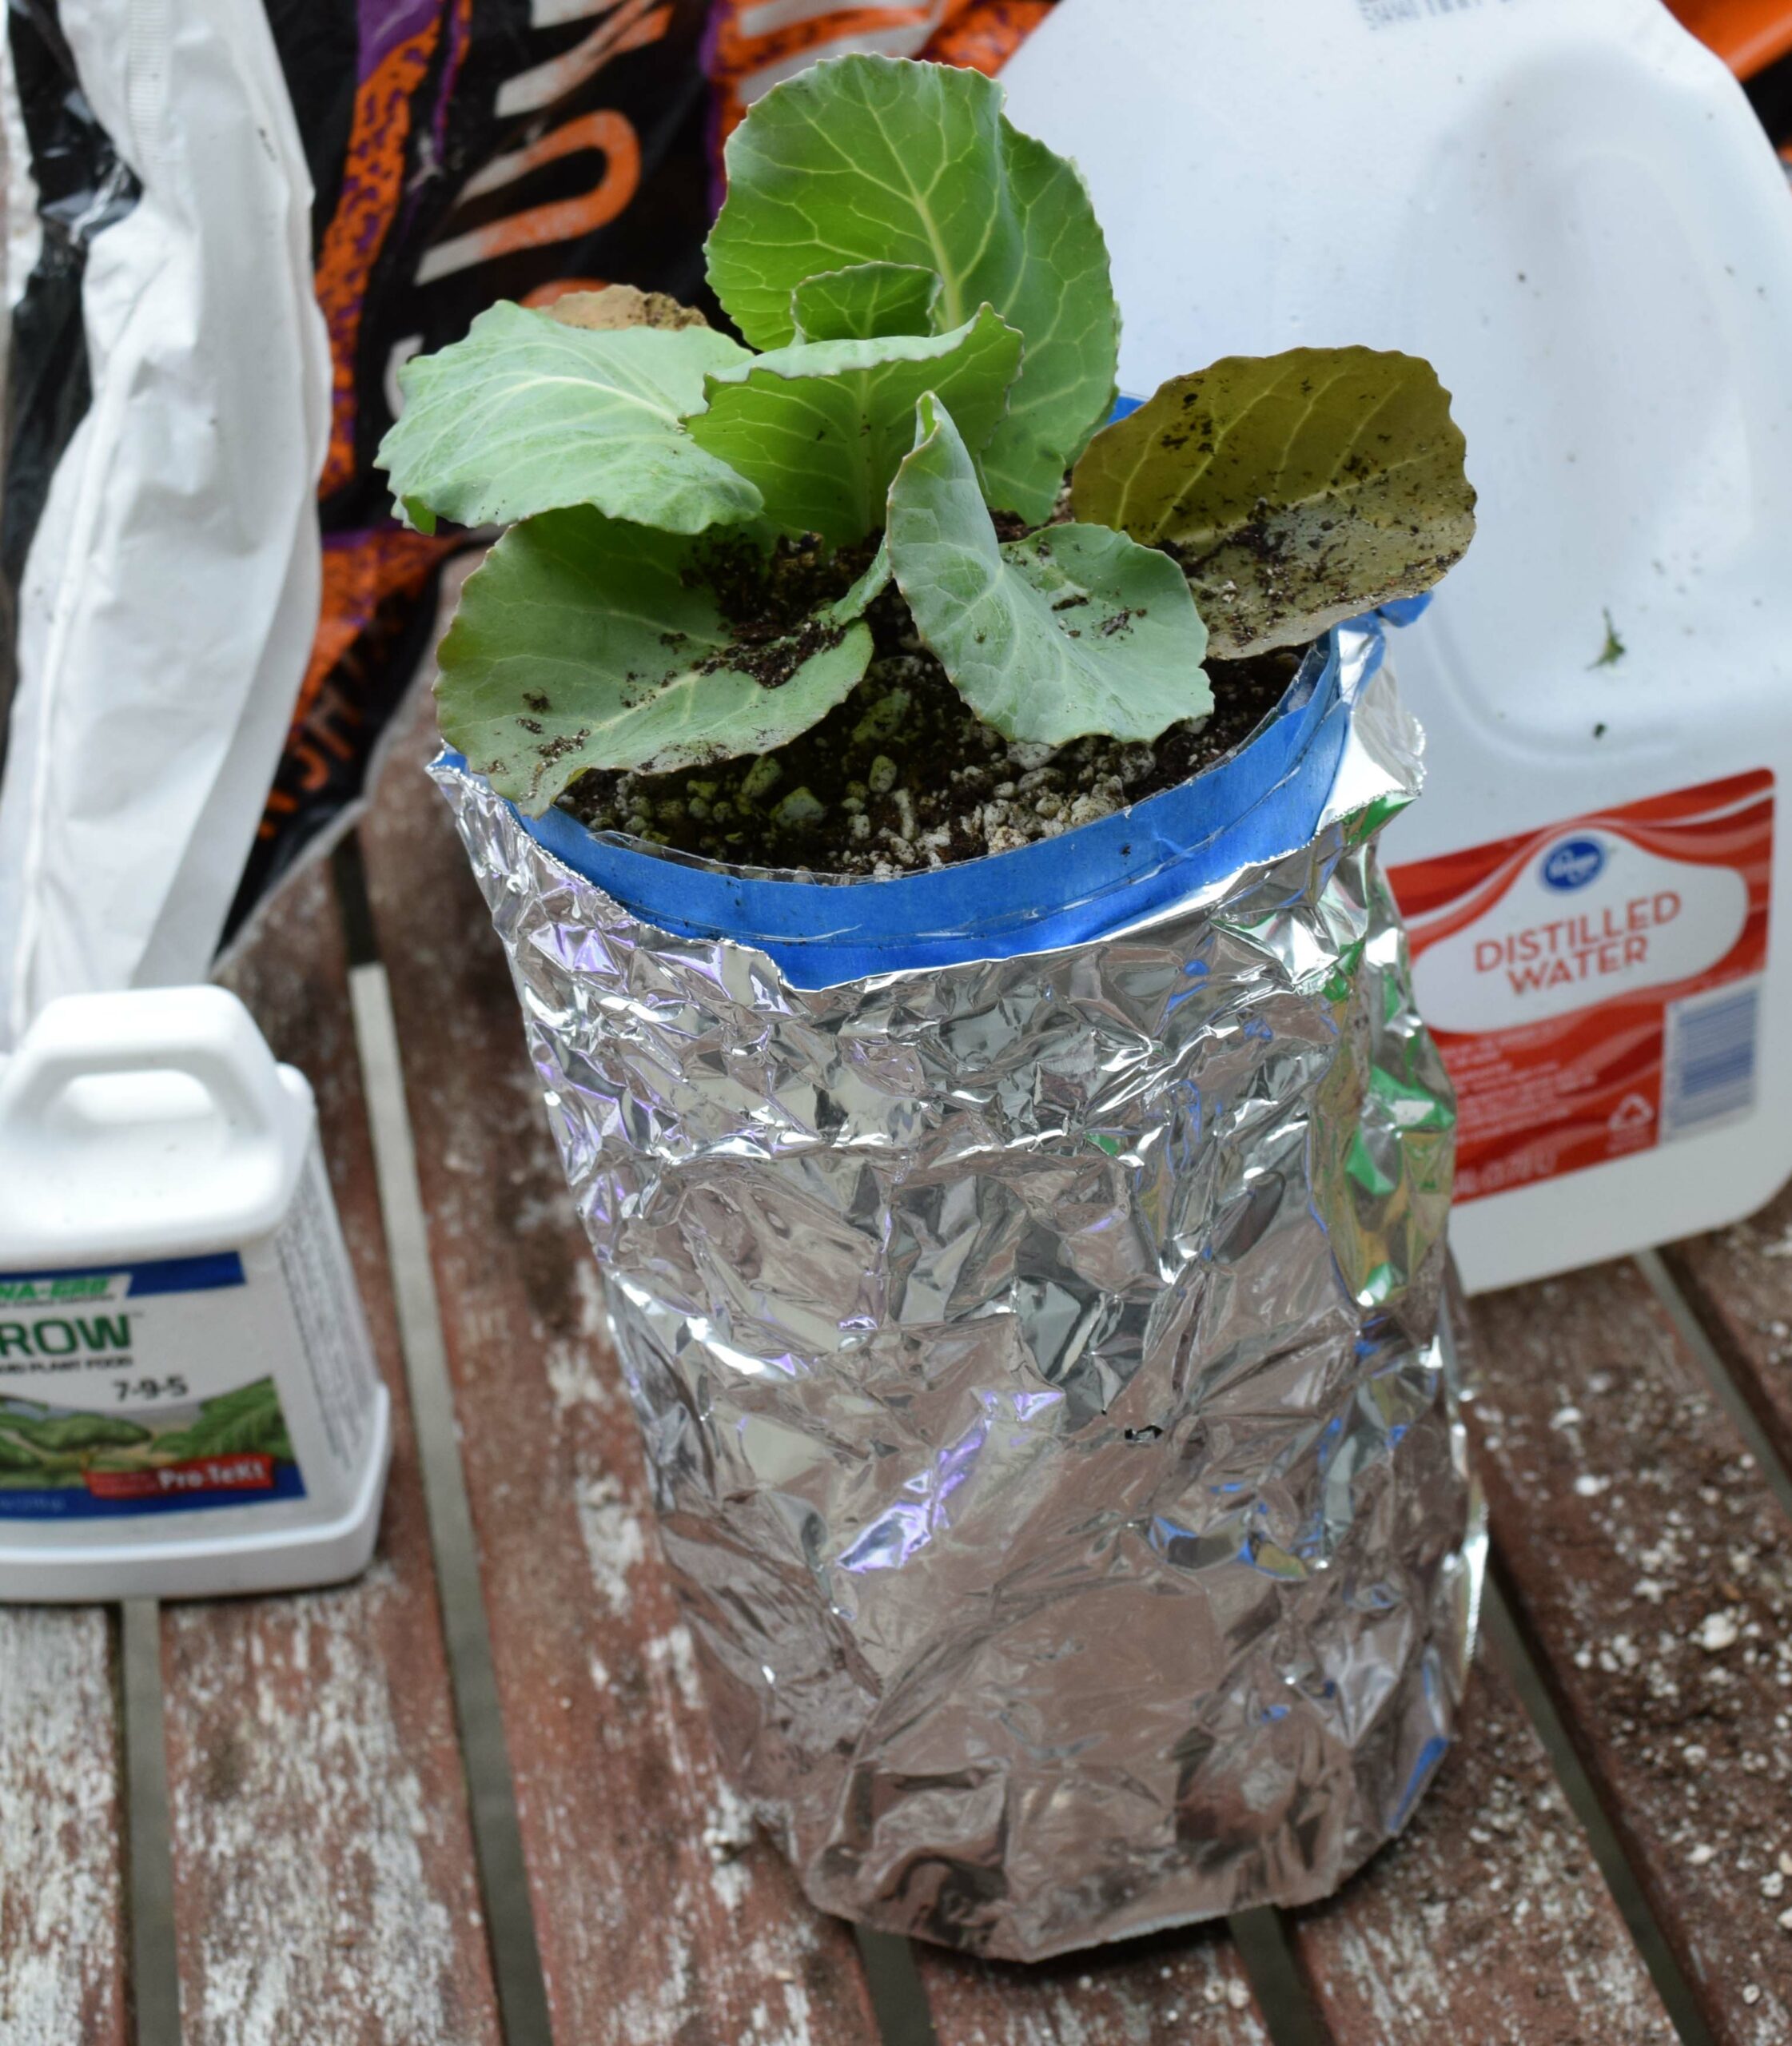
Congratulations – you now have a Plastic Bottle Garden. One thing you will need to do is to wrap the bottle with either an old newspaper with a rubber band or with aluminum foil as I have done.
Your plant will really love light – so will algae. If you do not wrap the bottle, algae will grow in the nutrient water solution – robbing your plant of the nutrients it will need. As for my cabbage – after wrapping, I placed it into a Grow Bucket that I made. Cabbage likes warmer temperatures and I will be trying to see how well it will grow in the bucket. Grow Buckets are great for plants that really need light. Plan to do a post soon on how to make one. Again thanks for dropping by and I look forward to your comments and questions. Until then, you can hydro

HAPPY CABBAGE SNUG IN A GROW BUCKET

Leave a Reply