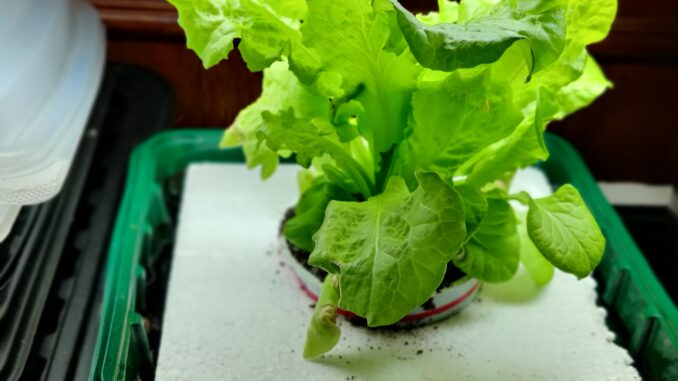
 Teaching kids about growing vegetables can be a fun and enriching experience. A simple DIY hydroponic floating raft is a perfect hands-on project that introduces children to gardening, science, and sustainability all at once. Whether you’re a parent, teacher, or STEM enthusiast, this project makes learning interactive and exciting.
What Is a Hydroponic Floating Raft?
A hydroponic floating raft is a gardening system where plants grow in water instead of soil. The plants sit in small holes on a floating platform, and their roots dangle directly into nutrient-rich water. This method is clean, efficient, and an excellent way to grow vegetables like lettuce, spinach, or herbs.
Why Teach Kids Hydroponics?
Hands-On Learning: Kids love seeing the results of their efforts. With hydroponics, they get a front-row seat to how plants grow and thrive.
- STEM Skills: This project incorporates science (plant biology), technology (hydroponic systems), engineering (raft design), and math (measuring nutrients and water levels). Healthy Eating Habits: Growing vegetables encourages kids to understand and appreciate fresh, healthy food.
- Environmental Awareness: Hydroponics uses less water and no soil, making it eco-friendly. kids learn the importance of sustainable practices.
- Problem Solving: From troubleshooting plant growth to managing nutrient levels, children develop critical thinking and adaptability.
How to Build a DIY Hydroponic Floating Raft 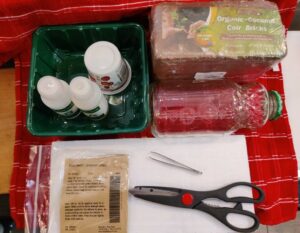
Materials Needed:
- A shallow container or tub (like a storage bin)
- Styrofoam sheet (cut to fit the container)
- Net pots or plastic cups with holes poked in the bottom (a yogurt works just fine)
- Plant seeds (lettuce, basil, or spinach work great)
- Hydroponic nutrients (available at garden stores or online from Amazon. Some users create their hydroponic solution by adding 1 tablespoon of Epsom salt per gallon of water to their hydroponic system along with 1/2 teaspoon per gallon of Miracle-Gro All Purpose Plant Food). I prefer to use ready-made hydroponic solutions – Miracle-Gro can be damaging if you do not mix the solution correctly). If you are using a clear jug to hold your nutrient solution, wrap a cloth or tinfoil around the jar/jug to keep light out. Algae will grow in any clear jar/jug that is not covered.
- Water
- A small air pump and tubing (optional, for oxygenating the water, for this project, we did not use one. If you decide to add one a simple aquarium air pump with tubing and a bubbling stone will work)
Instructions:
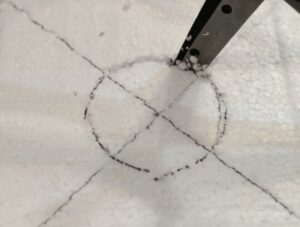
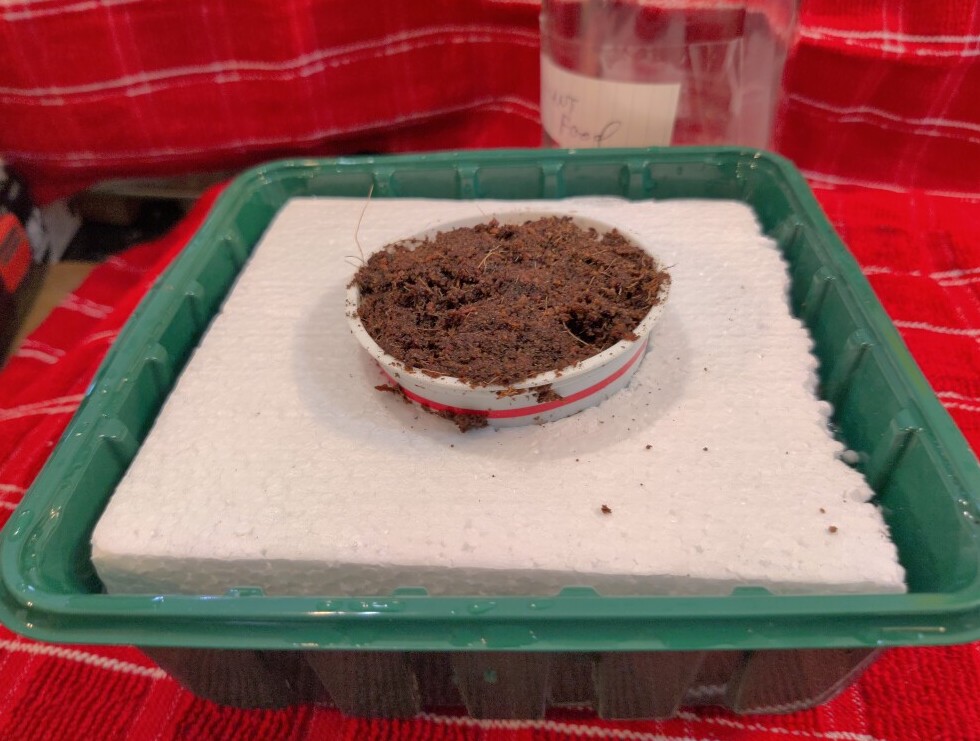
Create the Floating Raft: Cut the Styrofoam to fit snugly inside the container. Cut holes in the Styrofoam to fit the net pots or cups. Ensure the cups are suspended and won’t fall through. If you are using a yogurt cup instead of a net cup, cut holes in the bottom of the cup. A drill bit is an excellent tool to use.
Prepare the Container:
Fill your container with water, leaving some space at the top. Add hydroponic nutrients as per the instructions on the package. Any container can be used as long as it is deep enough.
Plant the Seeds:
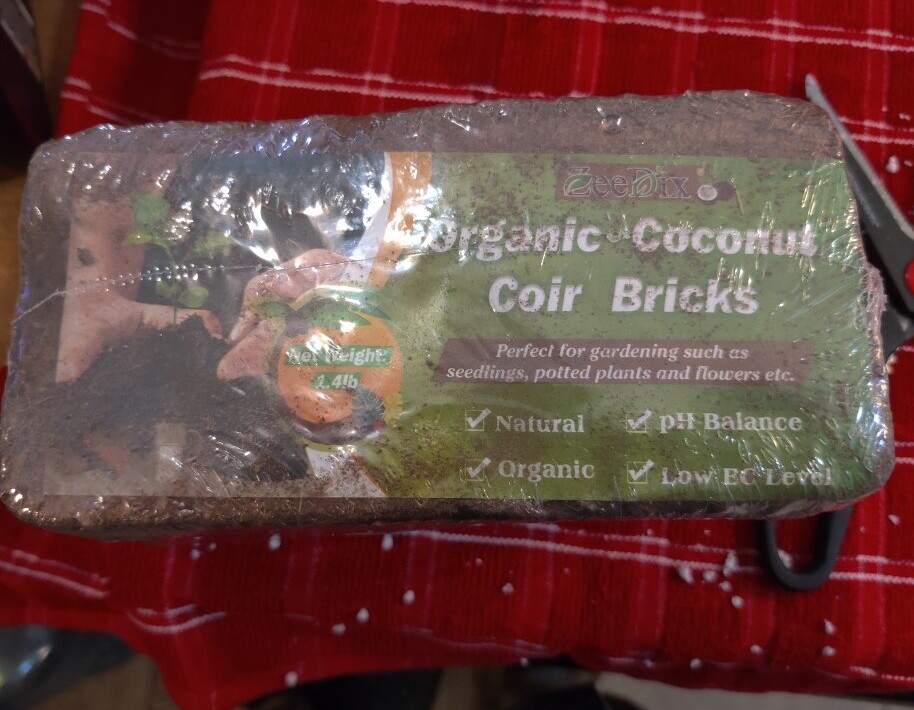
Fill the cups with a growing medium like rockwool, coco coir, or perlite. I used coconut (coco) coir for this project. It is made of coconut husks that have been soaked to remove salt. Coconut Coir is ph balanced and if prepared correctly has no nutrients which could interfere with your hydroponic nutrients. Coco coir comes dehydrated and pressed. It expands as you rehydrate it, a little goes a long way. You could use peat moss, but since it is not nutrient-free, using peat moss would not be a 100% hydroponic project.
 Place seeds in the medium, ensuring they have space to sprout.
Assemble the System:
Place the cups in the Styrofoam holes and let it float on the water. If using an air pump, attach the tubing to aerate the water.
Watch It Grow:
Place the system in a sunny spot or under a grow light. Encourage kids to check the water level and nutrient balance weekly and observe how the plants grow.
Benefits as a STEM Project
This project aligns perfectly with STEM education because it engages children in:
- Biology: Understanding plant growth and photosynthesis.
- Engineering: Designing a functional floating raft.
- Math: Measuring and adjusting nutrient solutions.
- Problem Solving: Troubleshooting issues like algae growth or wilting plants.
Teachers can expand the project into experiments, such as testing different plant types, varying nutrient levels, or observing how light intensity impacts growth.
Takeaways for Kids
Through this project, children gain practical skills and a sense of accomplishment. They’ll see how their care and attention directly impact the plants, teaching responsibility and patience. It’s also a steppingstone to conversations about food systems, sustainability, and innovation.
Final Thoughts
The DIY hydroponic floating raft is more than just a fun project—it’s an investment in your child’s learning and development. Whether it’s growing veggies for family dinners or exploring science concepts in a real-world setting, this project is a win-win. Get started today and watch your kids’ curiosity and creativity bloom!
Leave a Reply